
Objectives: Students will identify, dissect, and collect data on the parts of a flower and look for patterns in flower development
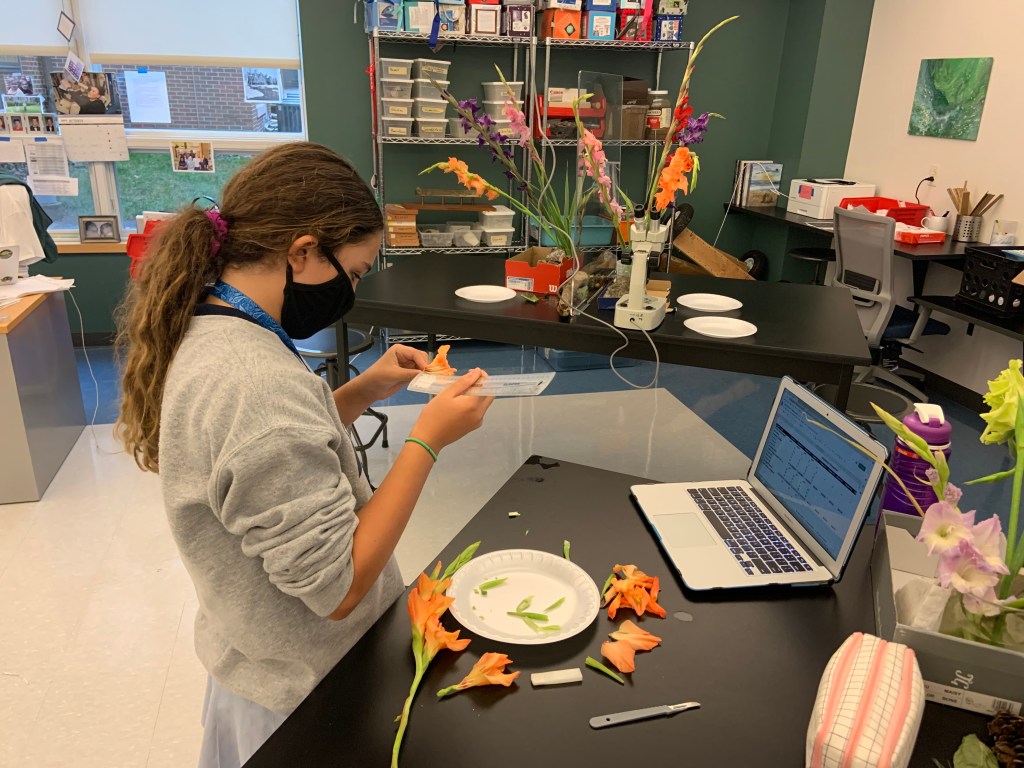
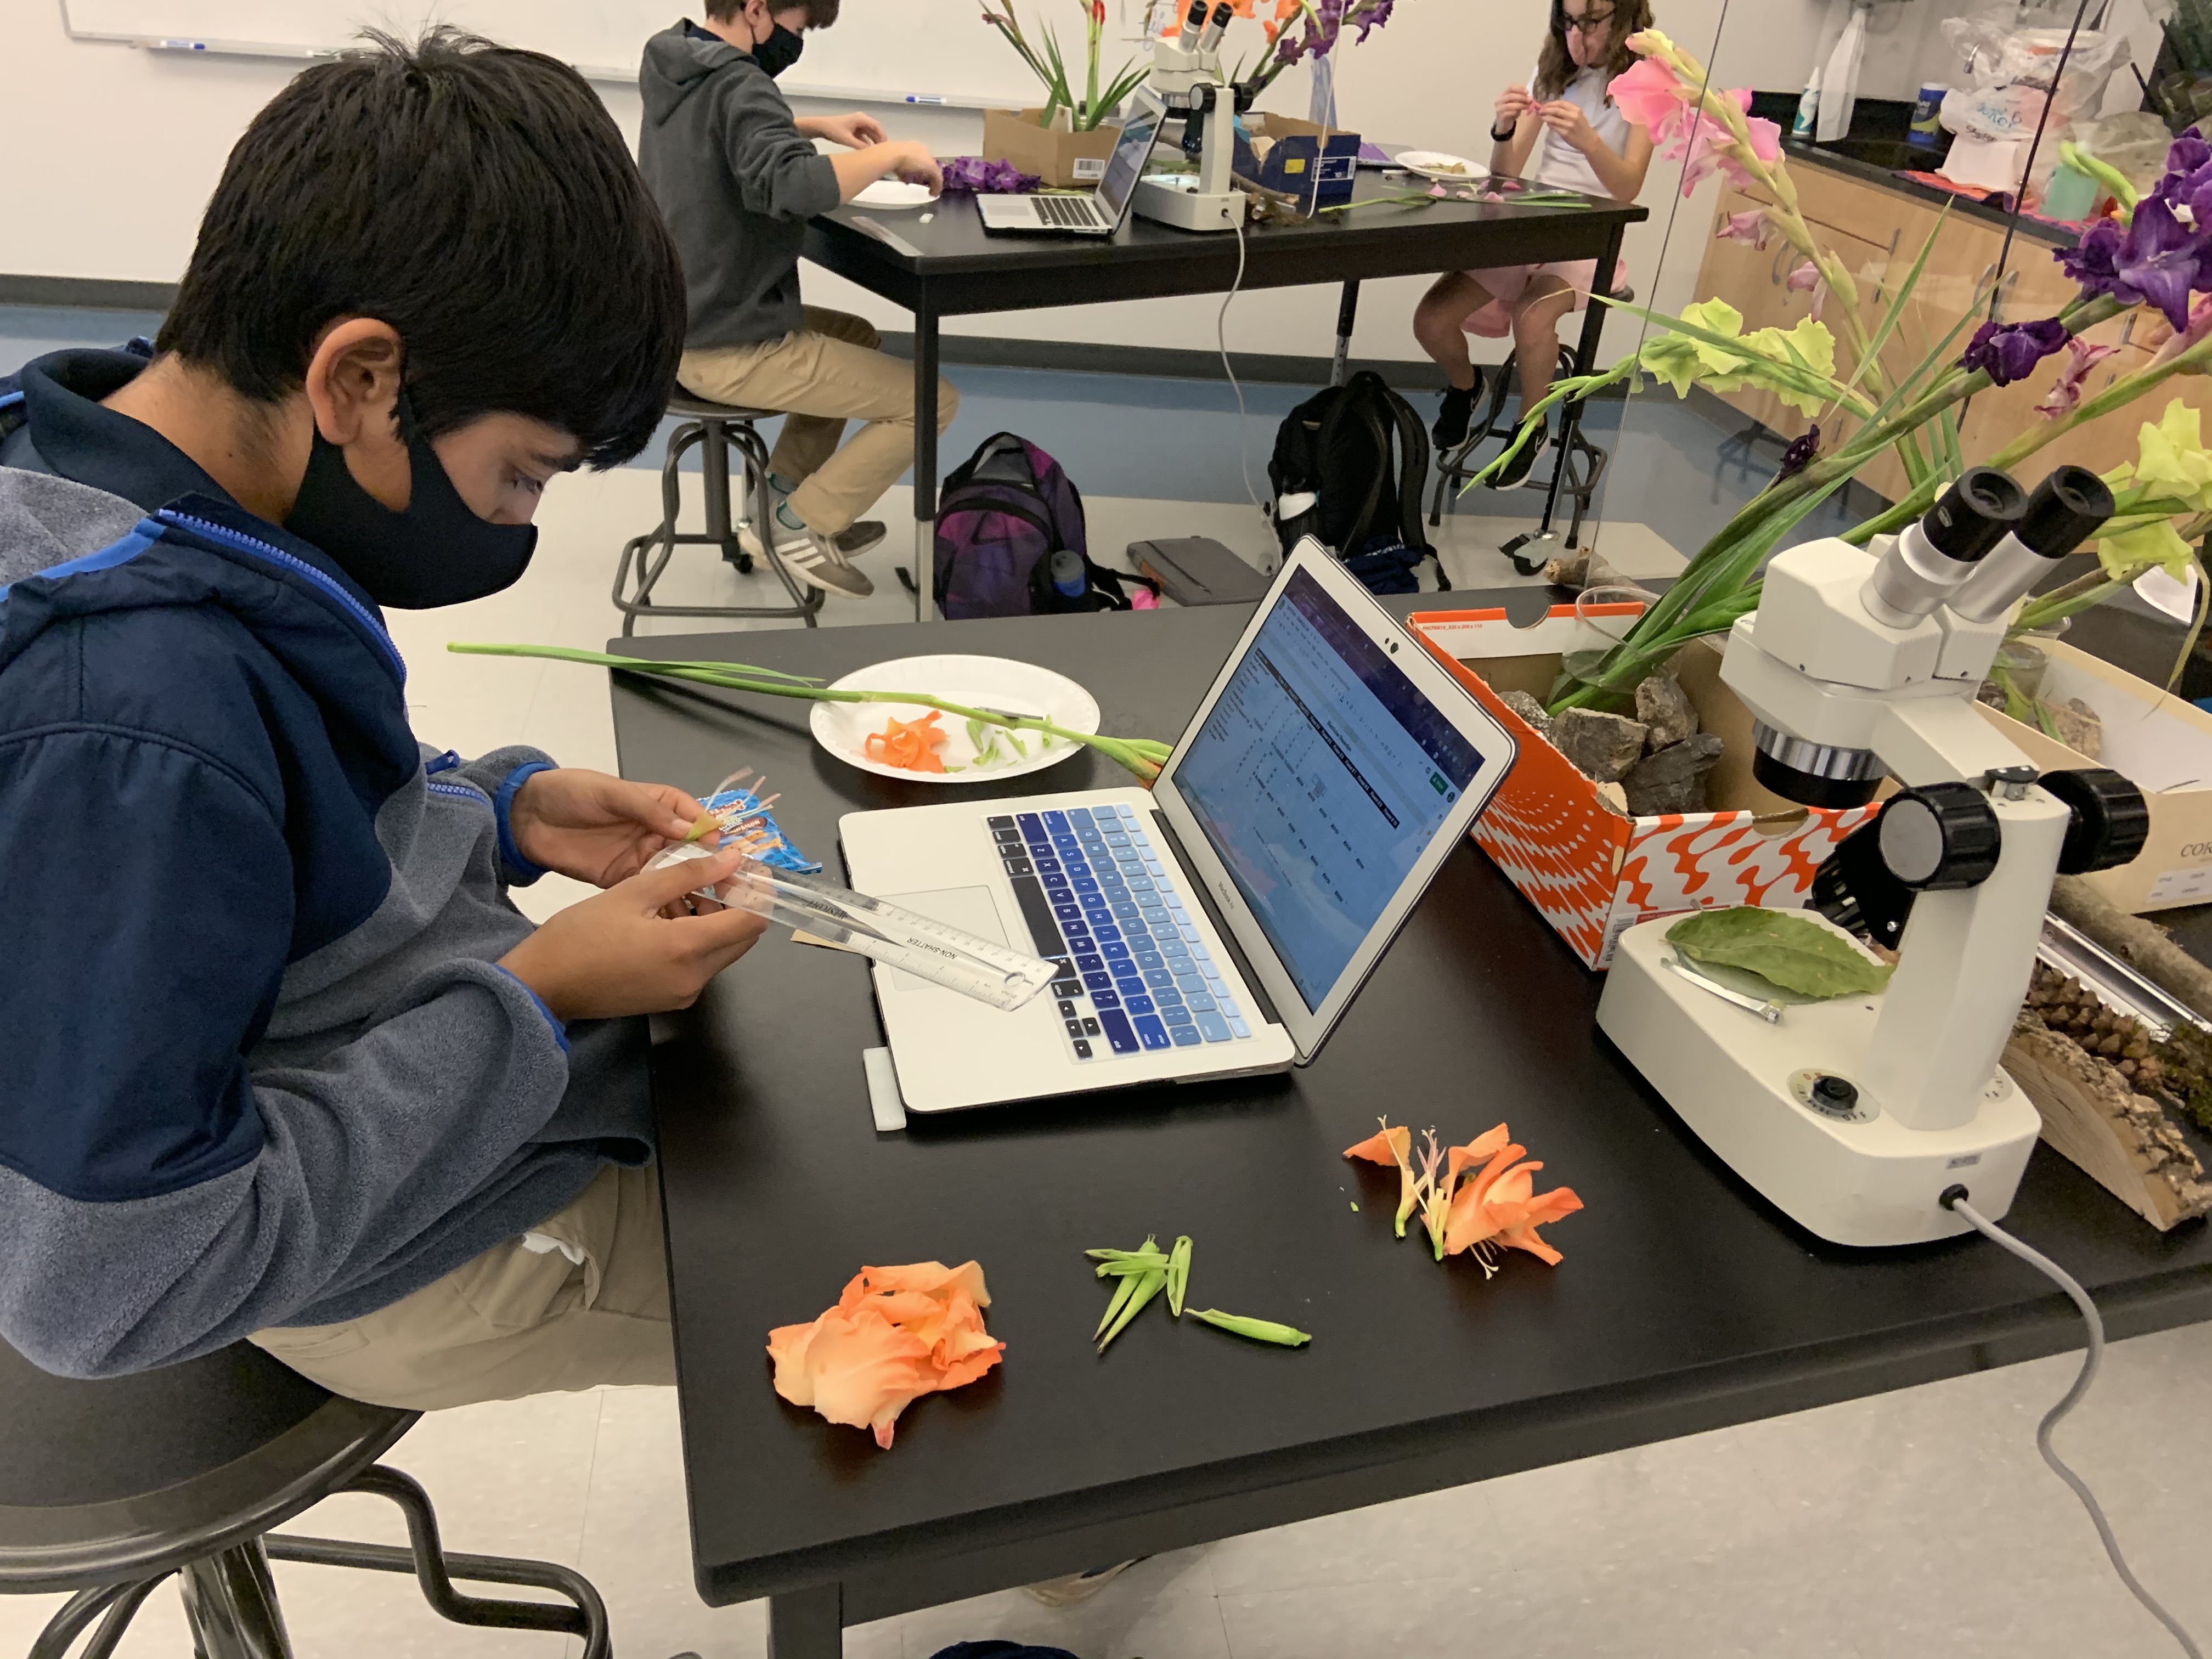
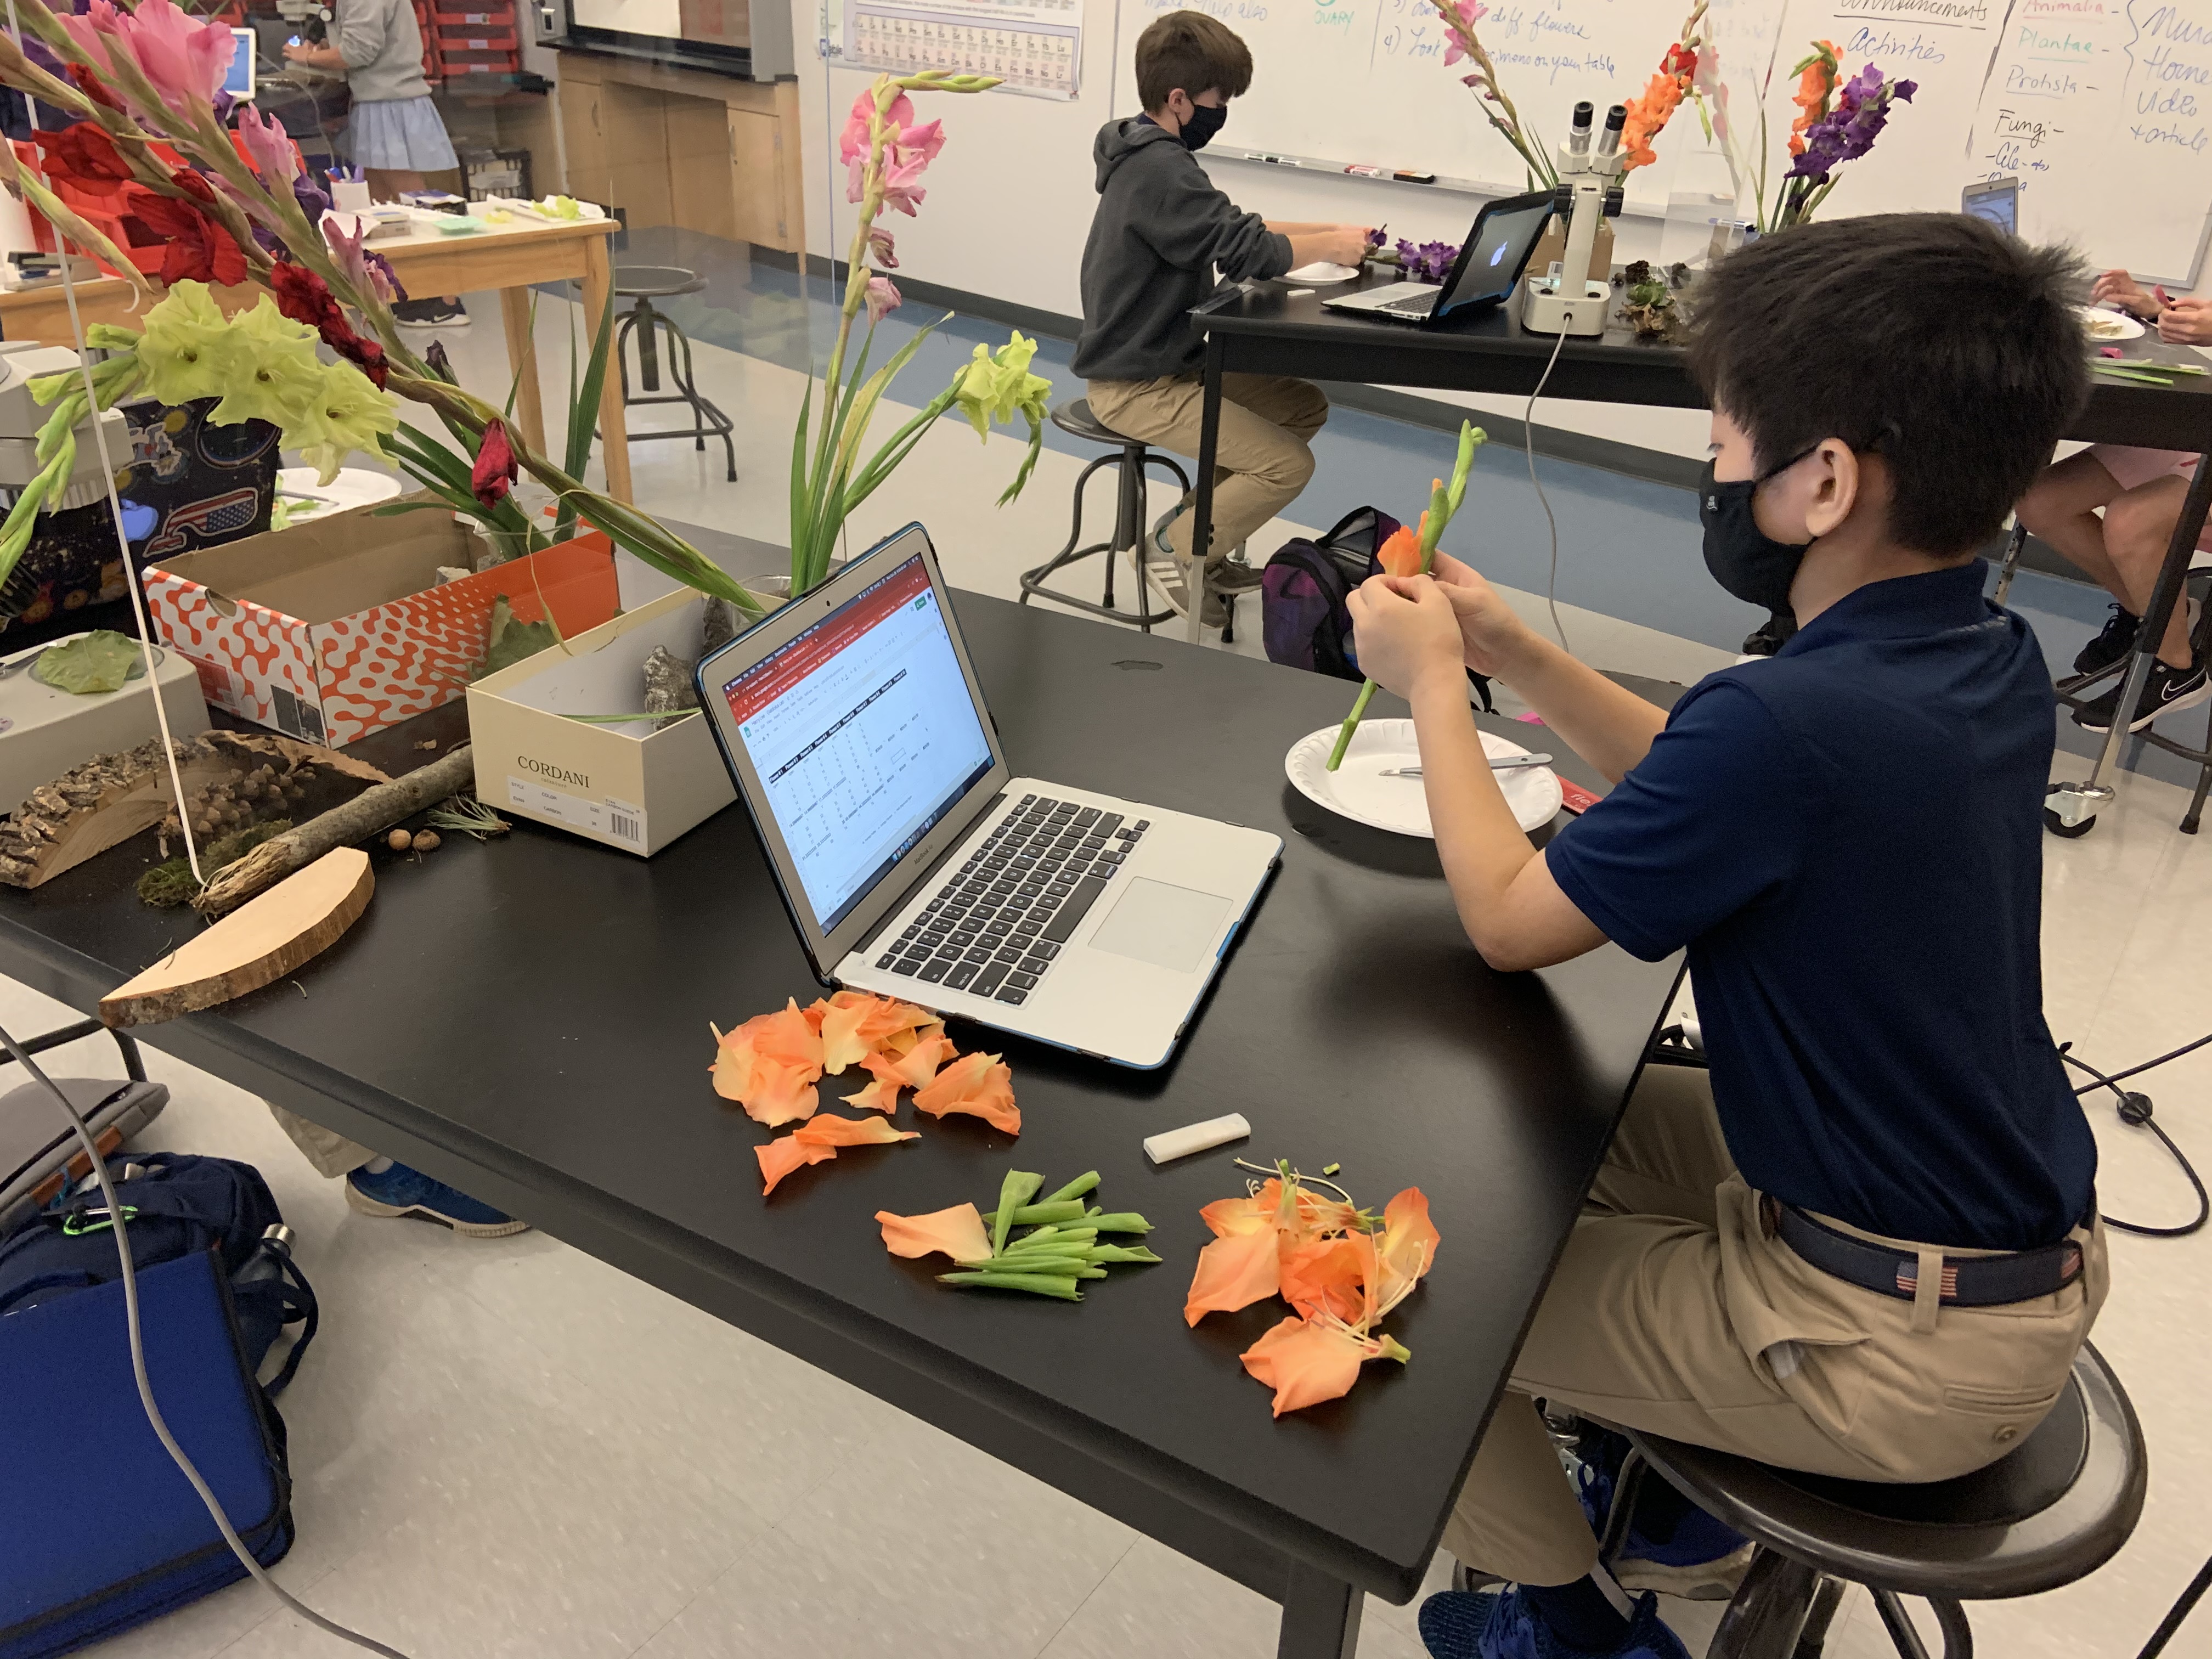
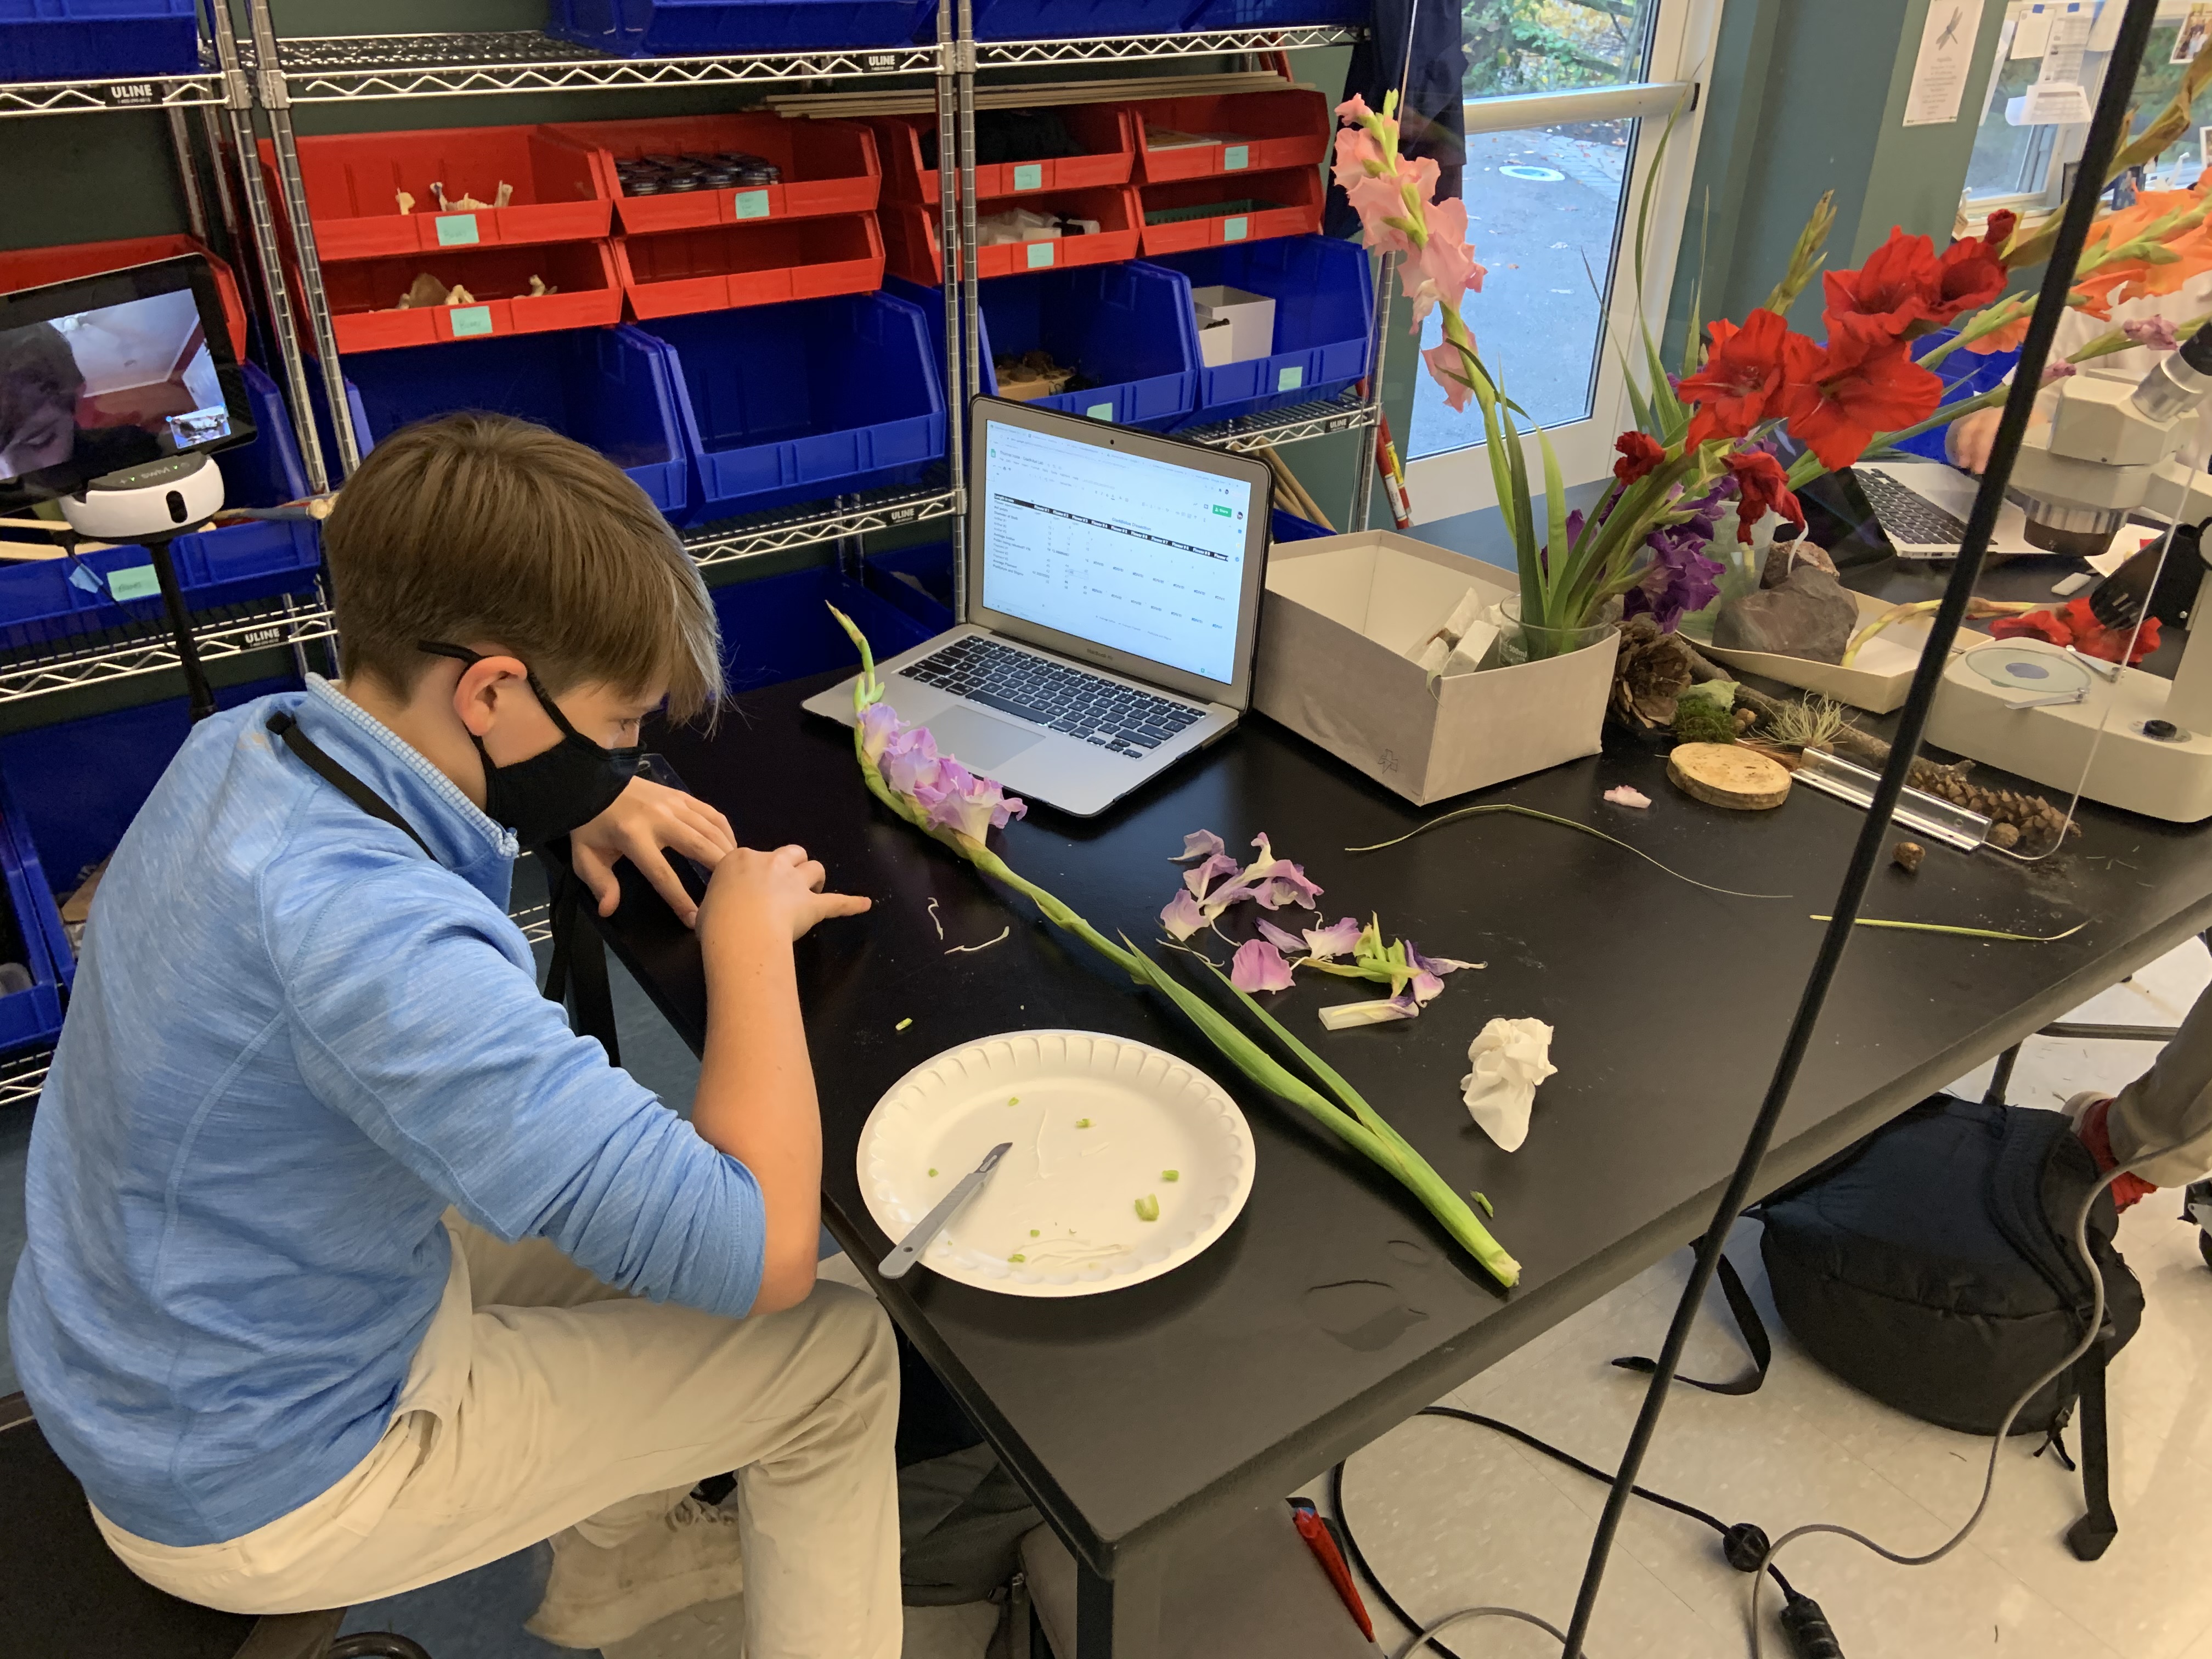
This was one of my favorite dissections, I learned about it when I was a new teacher in the late 90’s from a veteran life science teacher. Most flower dissections have students dissect only one flower that is fully developed, open, and releasing pollen. For the gladiolus, you have a living timeline of flower development from fully opened to tiny undeveloped flower buds all on the same stalk.
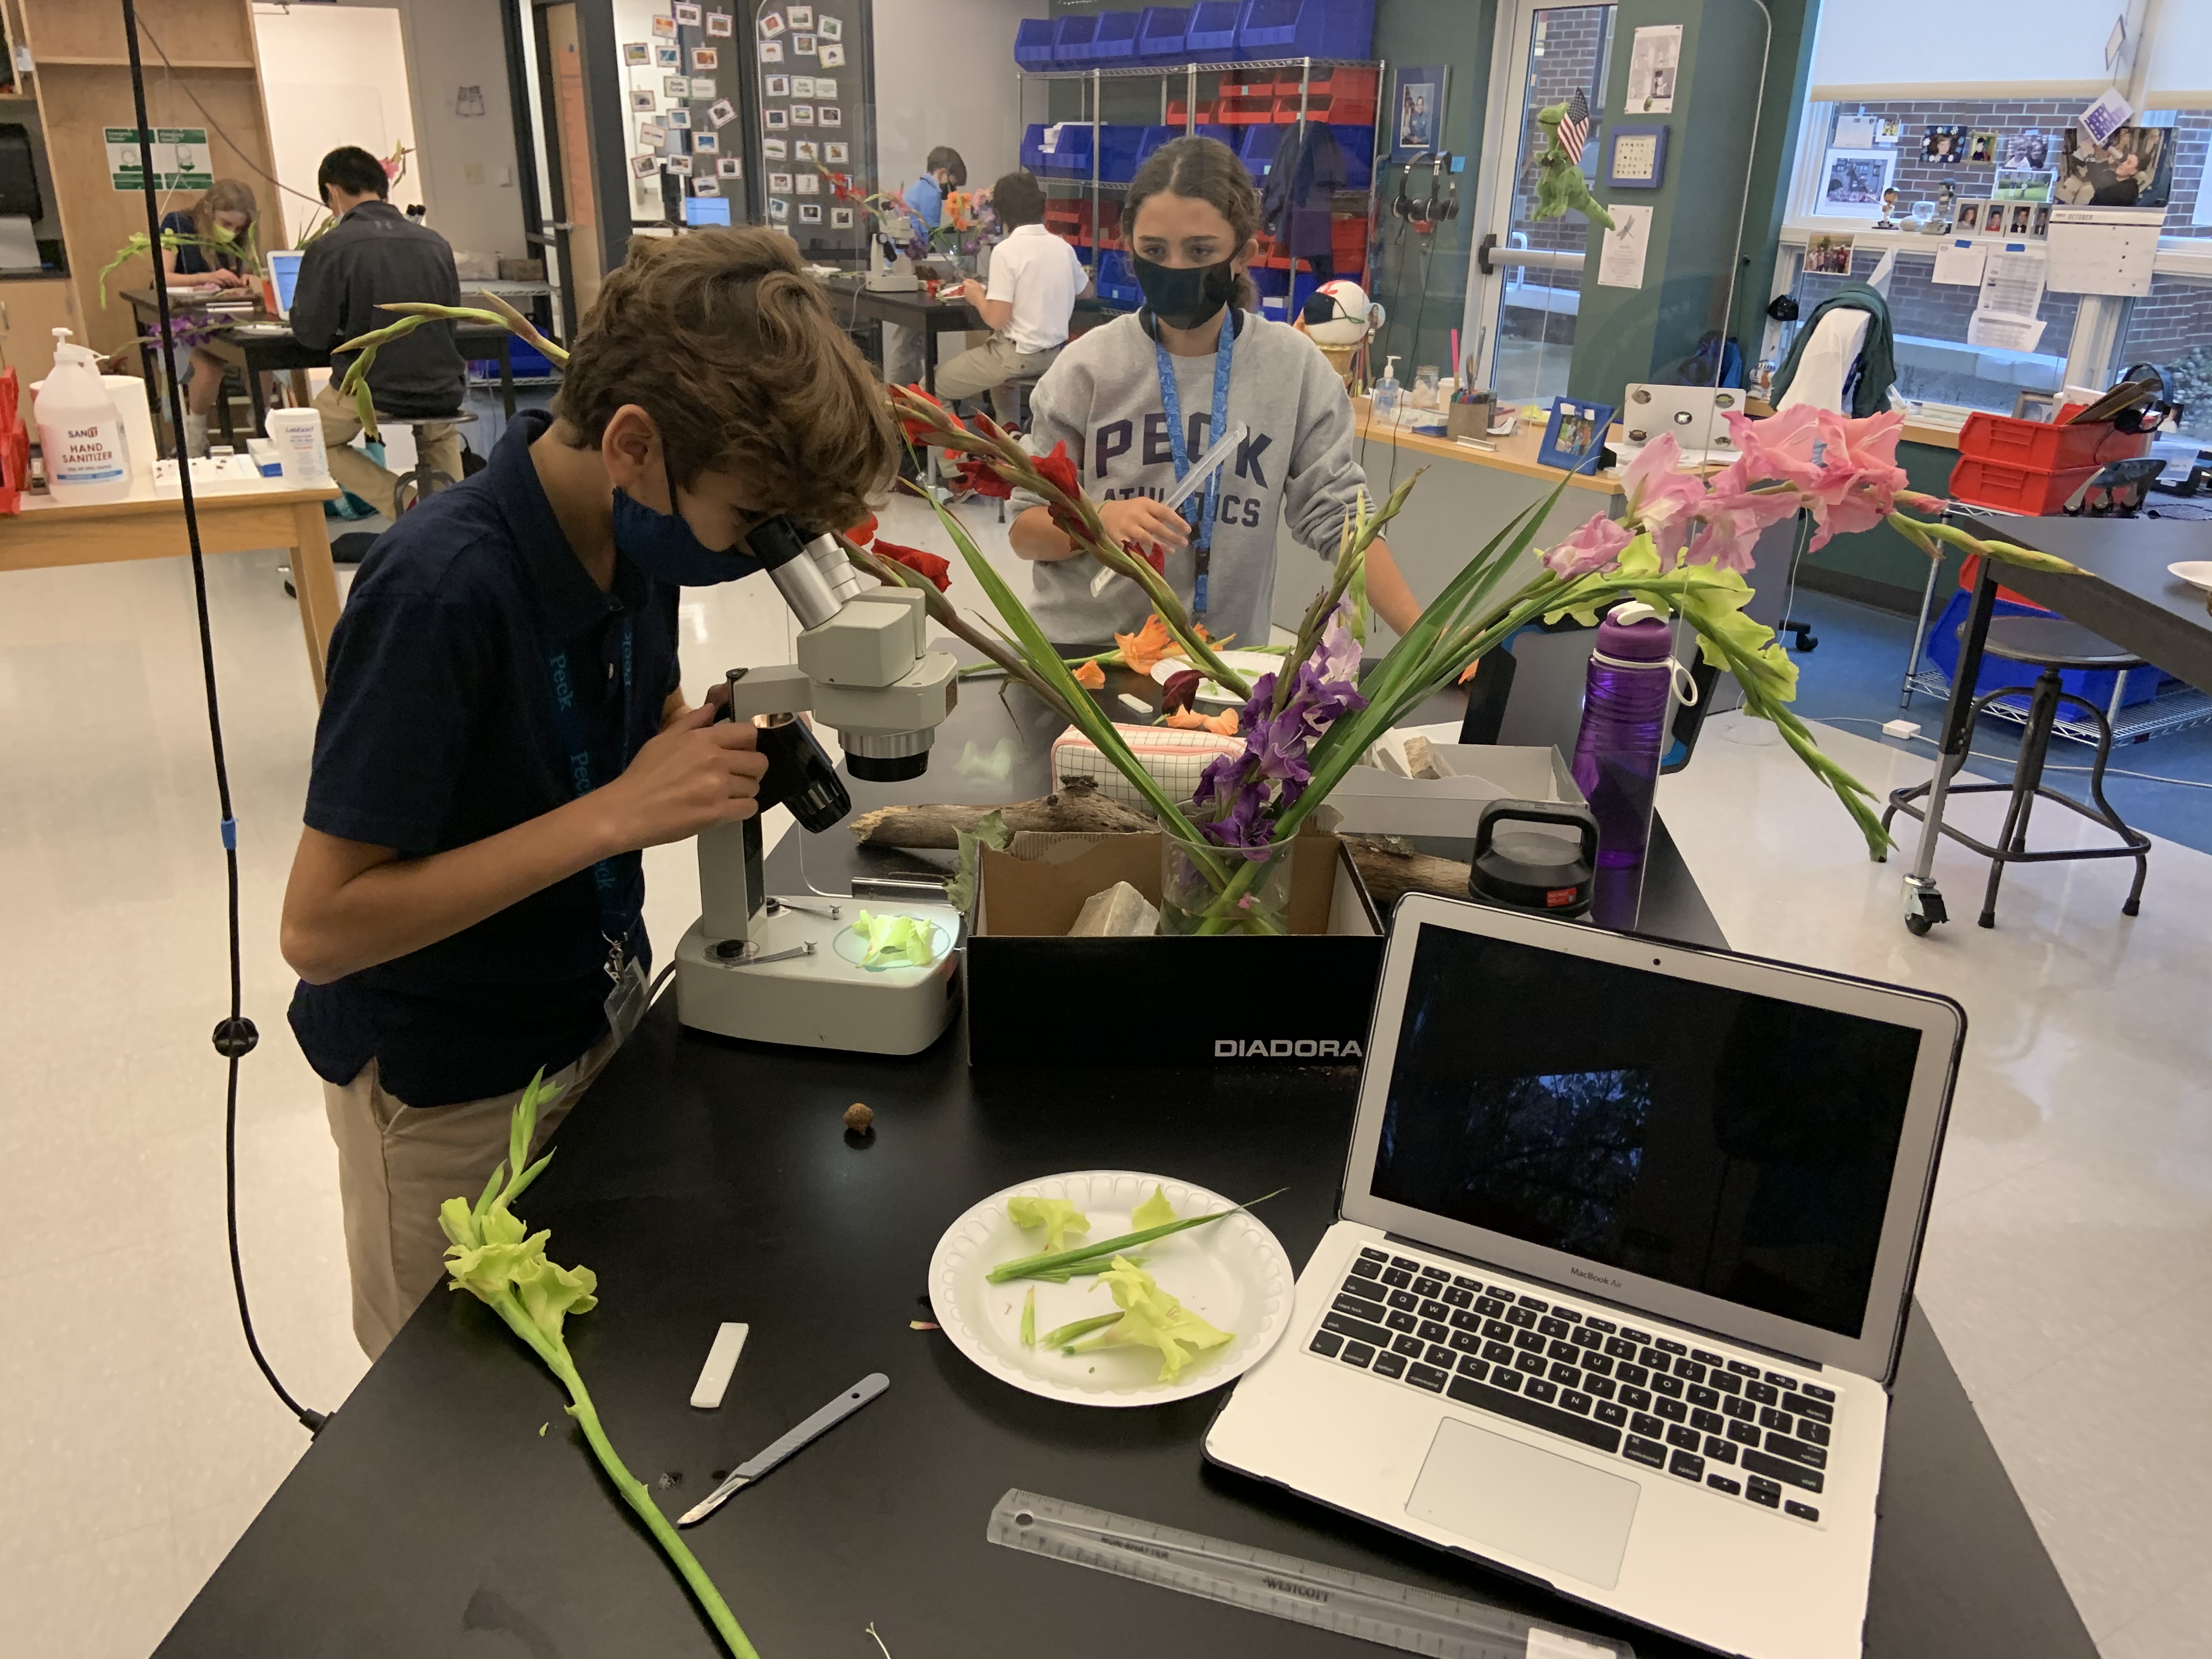
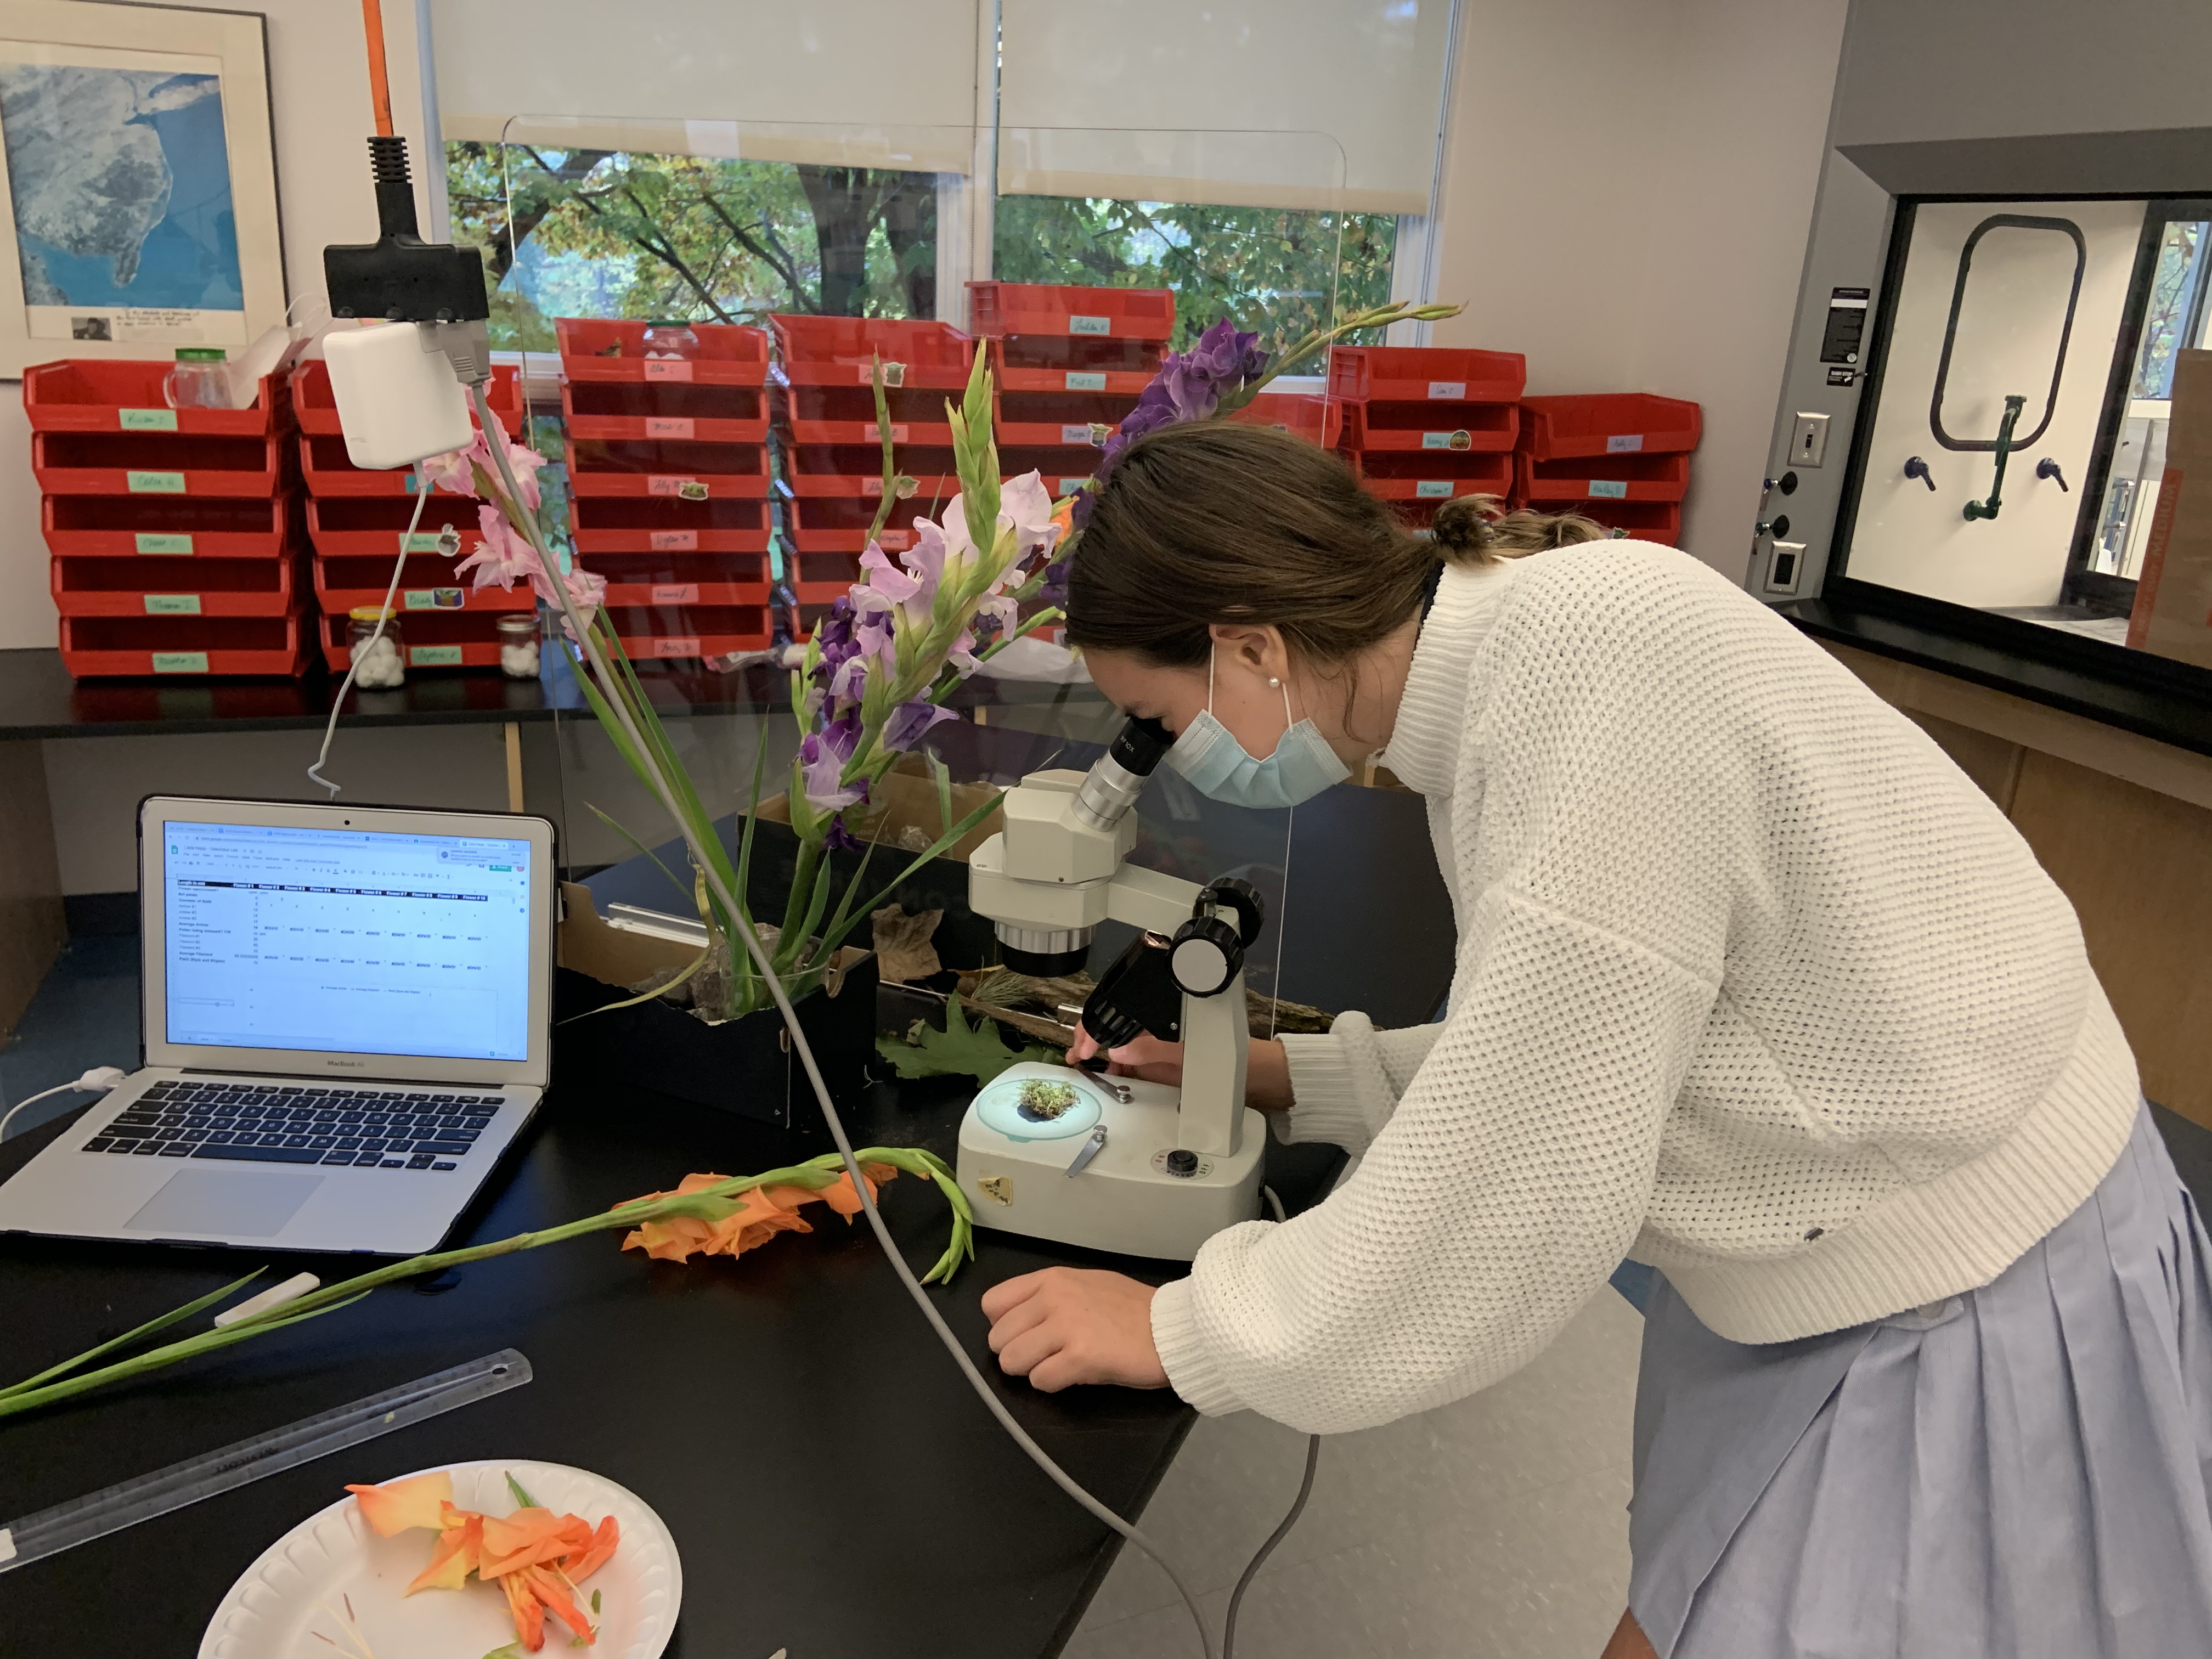
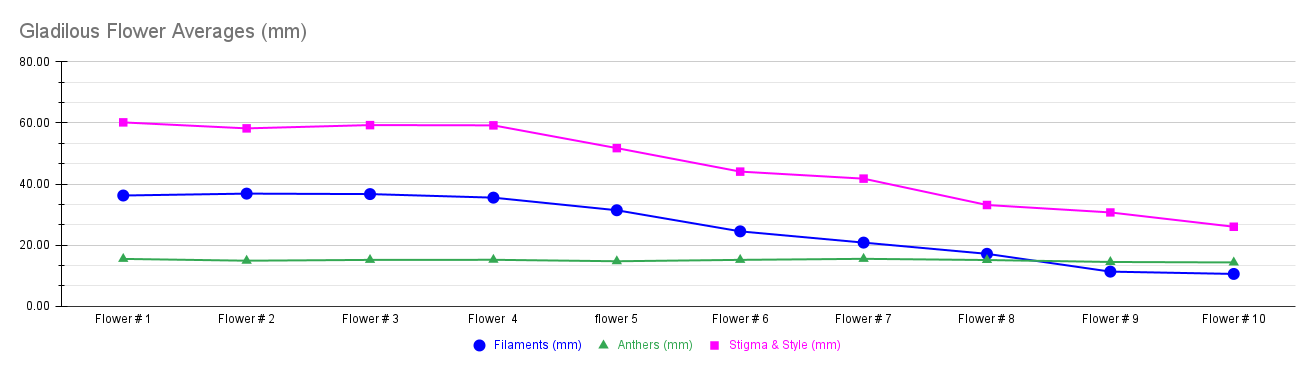
Students can dissect 10 or more flowers over the course of 1-2 days. One flower stalk can be used per student, per 2 students, or per group, with each student taking turns dissecting one flower at at time. The other thing I love about this lab, is the data collection. Students record measurements and make careful observations for each flower as they go up the stalk. They also love finding mutations, such as flowers that have extra stamens, missing stamens, extra flower petals, fused flowers, etc.
For the gladiolus, they are generally a low allergy flower for students who are allergic to pollen, but some students may still have runny eyes, etc, so follow precautions as needed.
Lesson Resources:
- Ask a Biologist Flower Diagram – (pdf) we labeled and colored this together as a guided lesson, then students used this reference sheet during the dissection
- Wild Earth Flower Anatomy – (pdf) another nice diagram with vocabulary and answer key
- TPT – FREE vocabulary cards with diagrams
- Data Collection – Google Sheet for gladiolus dissection data
- Materials – dissecting microscope, paper plates, scalpels, ruler, buckets of water for flower storage, strips of paper to label stalks if doing over two days (I stapled a looped piece of construction paper to the stalk with their names on it, different colors for different classes).
- Analysis Write Up – Google Doc, students will answer questions based on the data they collected
- Links for more information:
- CK12 -📝 reading and vocabulary
- PBS Learning Media – Gladiolus flower and flower dissection
- Penn State – gladiolus information
- Exploratorium – flower dissection
- DNR Maryland – flower diagram and dissection mat
Procedures:
- Start with a demonstration of how to do the dissection to walk students through the lab step by step and follow correct procedures
- Some flowers will be open, but many will be closed as you move towards the top of the stalk
- ‘gladiolus‘ is from the Latin gladius – a small sword, gladiator – a swordsman
- Locate the lowest flower on the stalk, this is flower #1
- Remove the sepals, exposing the green ovary.
- Very carefully, remove the flower from the stalk so that the ovary doesn’t break.
- Remove the second sepal if still attached
- Remove and count the petals
- Locate and remove the stamens, there are 3 filaments and 3 anthers
- measure the length of the filament to where it attaches to the anther in mm
- repeat for the remaining 2 and record measurements
- measure the 3 anthers from tip to tip in mm, record measurements
- is pollen being released?
- Locate the stigma and style, measure the length, do not include the ovary, record measurements in mm
- Using a scalpel, cut open the ovary lengthwise.
- Inside you will see the ovules
- when fertilized by pollen, these will become seeds
- Inside you will see the ovules
- Use a dissecting scope to view details
- Repeat procedures for flowers 2-10
- If time, students can dissect all the flowers on the stalk but only need to record measurements for the first 10.

Comments are welcome!